Our house was built in 1930's as the farm house on an olive orchard. At some point the bathroom was remodeled and enlarged at the expense of the dining area in the kitchen. As long as we have lived in this house we have had the dining table in the living room -- this works fine when it is just us, but we have to roll up the rug and move the table whenever we have guests over. Also, we have made do with not enough counter space in the kitchen and the stove blocking several inches of the doorway between the kitchen and living room.
We decided enough was enough, and that we needed a larger house. We considered moving, but we really like the property and location. More importantly we love the house, it was just too small. So we worked with an architect to design an addition that would keep the feel of a small house but give us a new kitchen and dining area, master bed and bath, an attic, and covered porches.
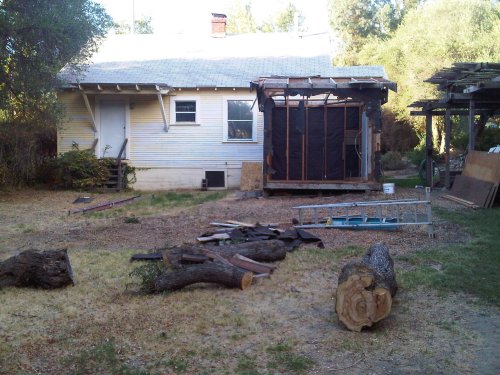
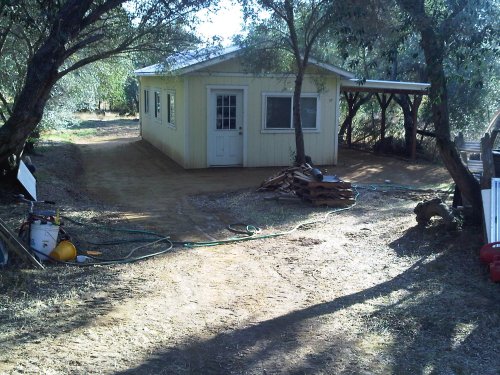
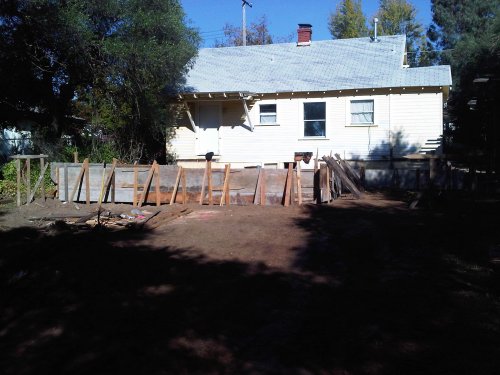
The first step was to clear out behind the house where the addition was going to go. This involved removing a shed and a tree. We also removed a second shed (a tarp covered greenhouse frame) whose planned temporary status was extending uncomfortably towards permanence. The next step was to build an awning off the shop to house the stuff that used to live in the sheds. We also did some drainage work around the shop, and surrounded it with decomposed granite over a weed barrier.
We finally got our permit in late October 2012, and started work immediately. We will only get part way through the work before winter, at which point it will be tarped and left until we can continue in the spring.
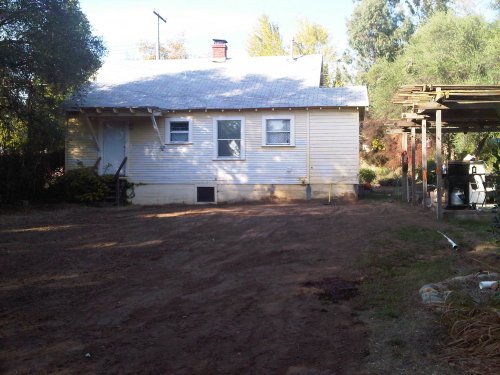
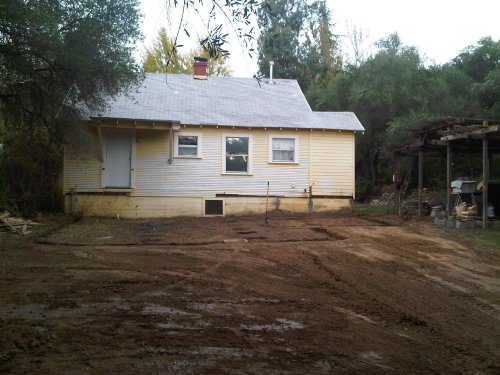
We graded the area to deal with some drainage issues, and then started trenching for the footings.
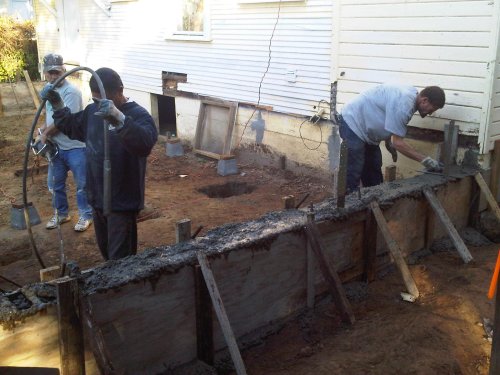
Pretty quickly the forms went up and the cement was pumped in.
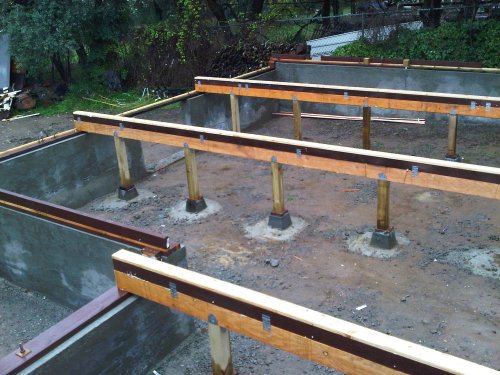
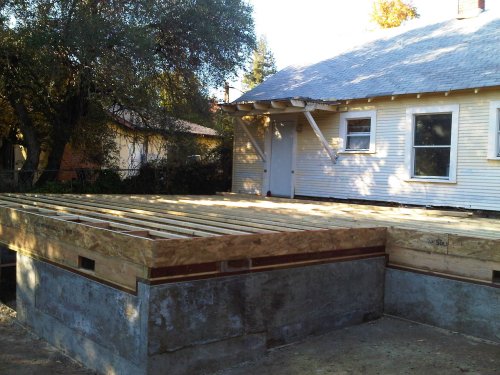
We discovered the ground was more sloped than the architect estimated, which was going to make the sill wall higher than allowed without additional engineering. The contractor decided to keep the sill wall a 48" and make up the difference with wood. What you see here are the 4x6 LVL beams, topped with pressure treated 4x4's, and then another 1x4 shim on top of that.
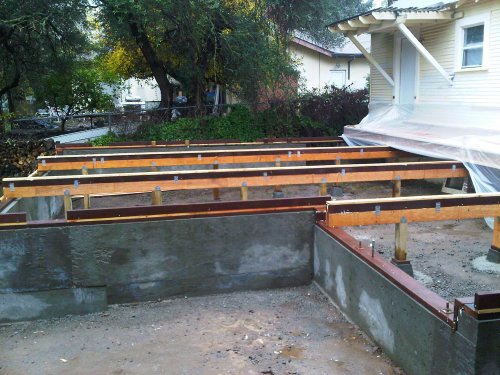
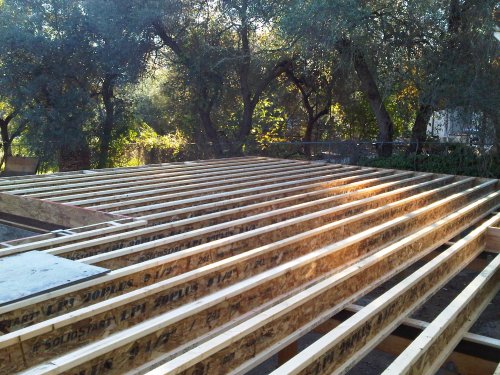
Next up are the joists. Again, lots of engineered wood here, for strength and stability.
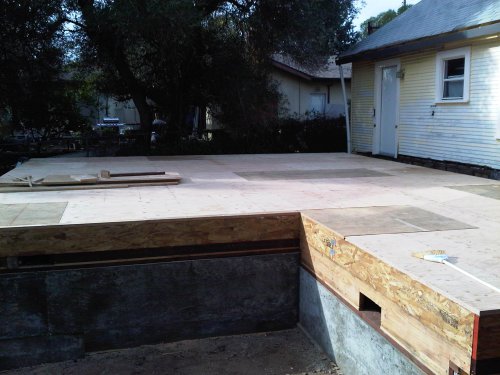
And now we have the dance floor! Of course from downhill it looks like a concert stage, and it's strong enough to land a helicopter on with all the over built footings, piers, beams, joists, and now capped with 1 1/8" plywood instead of 3/4" OSB...
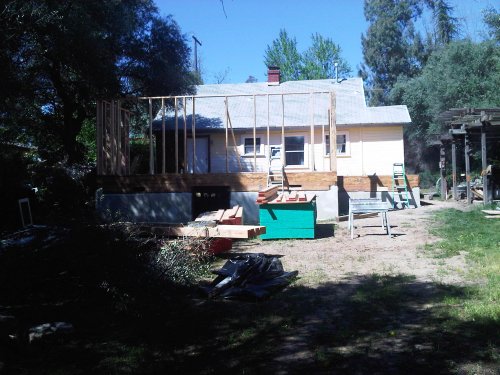
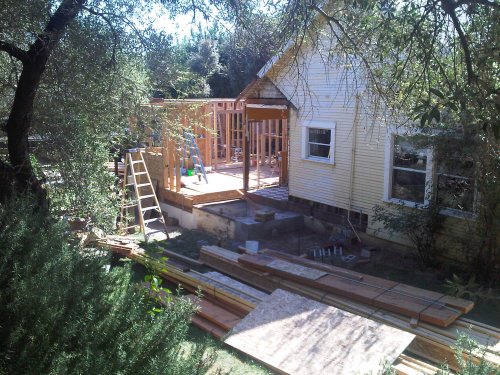
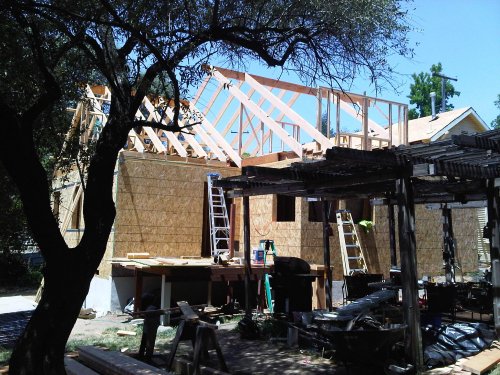
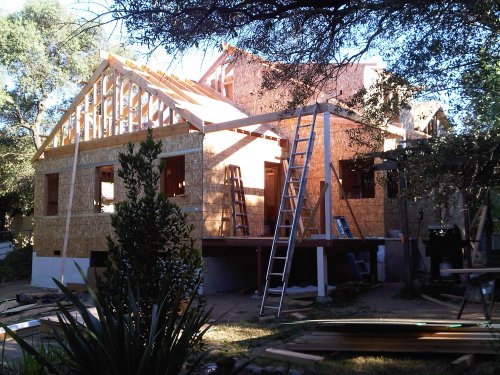
The beginning of framing in early April.
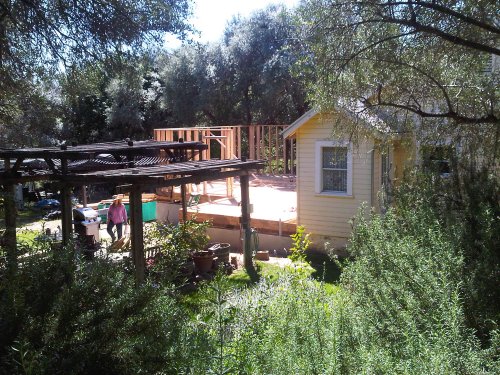
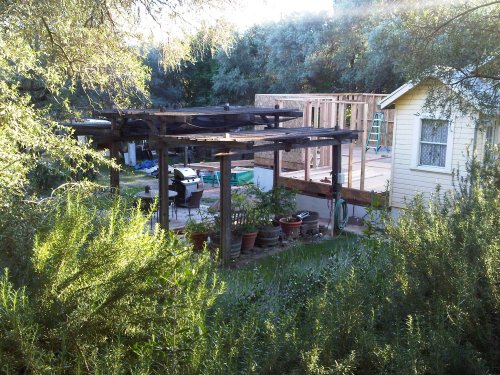
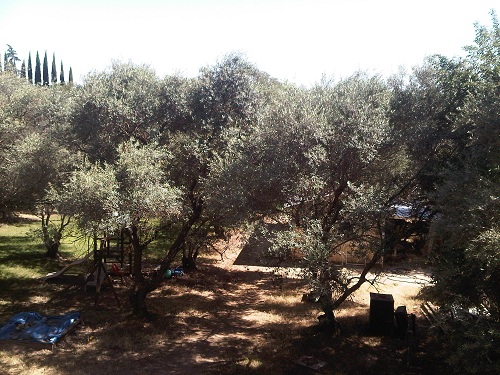
One of the last times we'll see this view like this.

But we're pretty happy to see the end of this view.
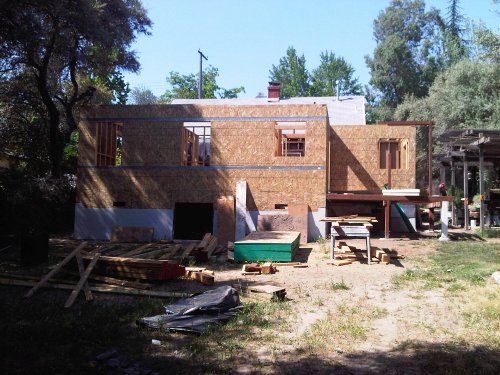
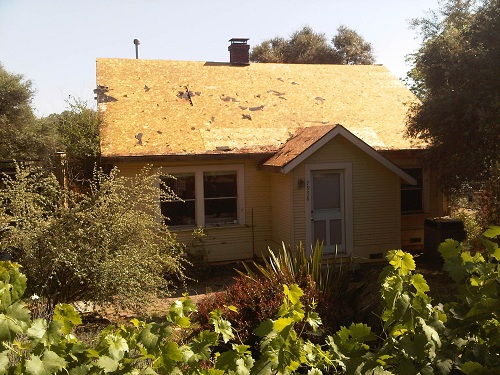
Getting ready for the OSB sheathing. We're still expecting some rain, so we haven't opened up the old house yet.
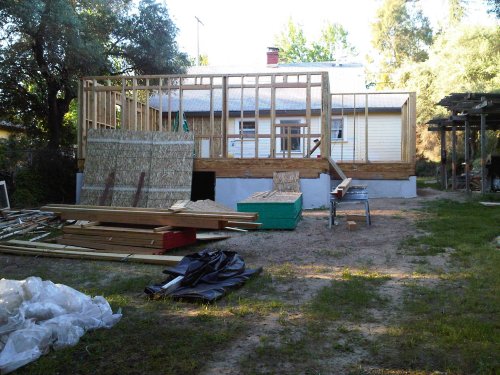
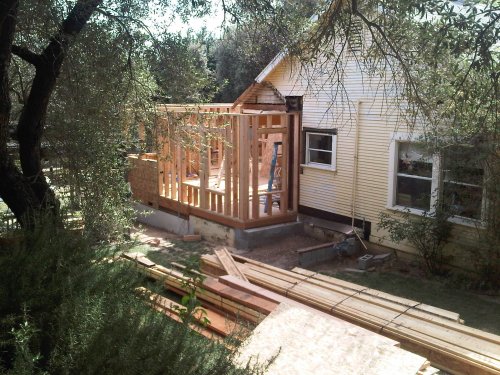
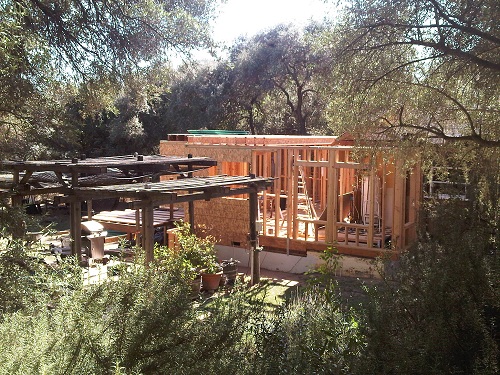
With some of the sheathing done, you get a sense of what some parts of the house will look like. Also you can see the porch framing is started now -- it looks pretty high, but we will be raising the level of the patio near it, so it will only be 4 steps up to the deck level.
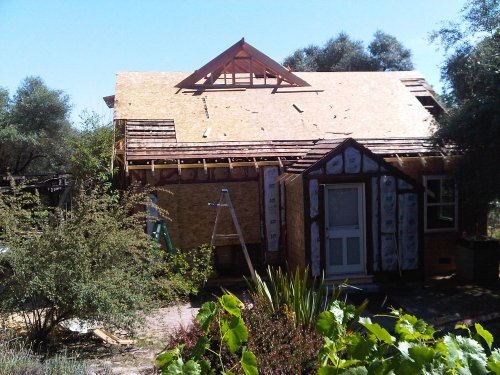
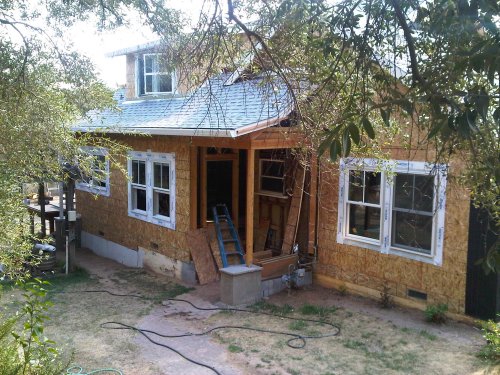
Now that we've had our early May rain storm, we can start opening up the old house. This little bumpout with the door is going to be removed and rebuilt according to the new plans.
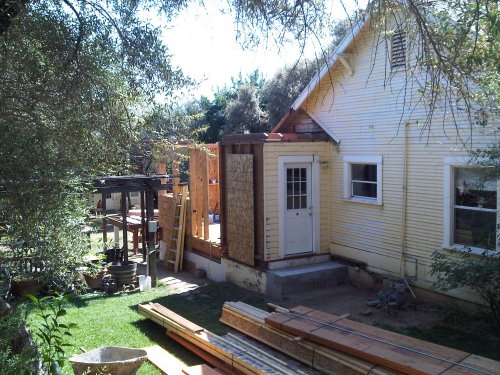
And voila! Removed and rebuilt! That little existing window will be replaced with a front door later, with a covered porch in front of it. But it's over the current kitchen sink, which we still need until we can move into the addition.
The pace really picked up again in mid-May, with several crews doing different jobs. The roofing was torn off, as was the old siding on the west wall.
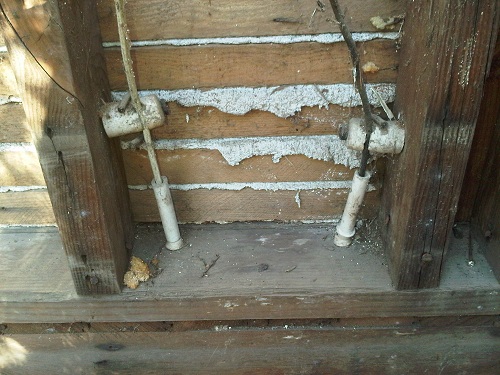
As the siding comes off we can see the old knob and tube wiring, which is apparently still in use for one light fixture. May try to change that out. We can also see what walls were repaired with wallboard before we ever moved into the house. We have found some plaster walls that need to be replaced, but most of the plaster looks like it is in pretty good shape.

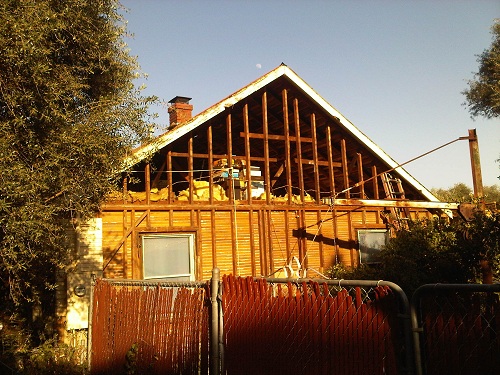
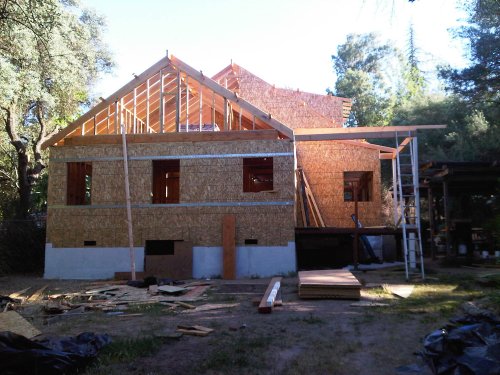
Meanwhile a different crew is working on attic floor joists and framing the roof.
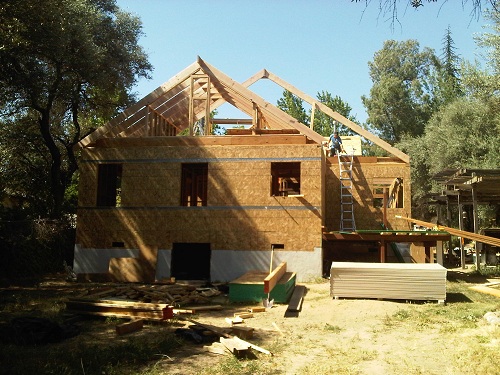
Here is a different angle on the rafters, plus the view from the little window you see framed in the small gable.
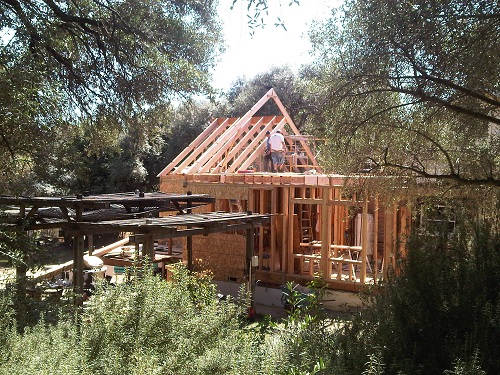
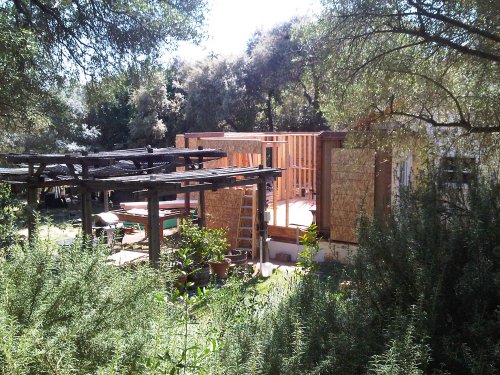
Skipping ahead several days we start getting better sense of the new roof line.
AAAAUUGH! More Rain! I love getting up in the middle of the night to fix tarping and getting water to stop pouring into the house :-(

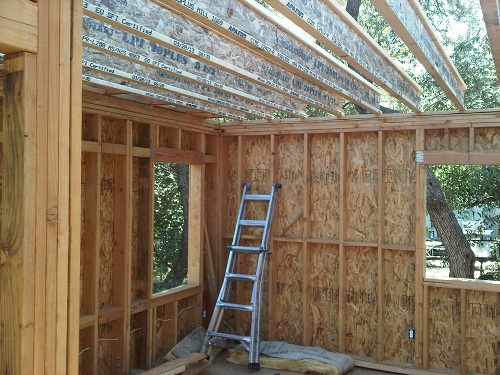
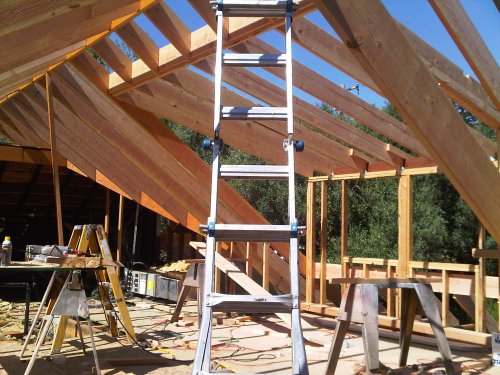
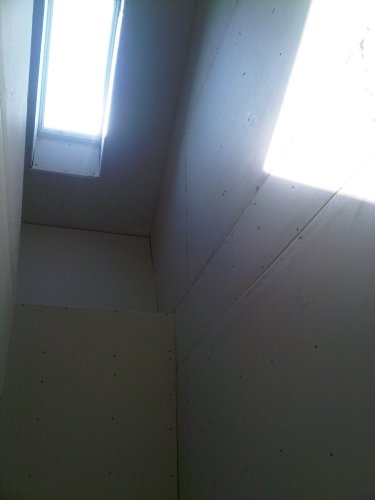
Here are a few fun shots of the attic space, looking in opposite directions. It will look a lot smaller with sheetrock on the walls, but there are a lot of fun angles in it.

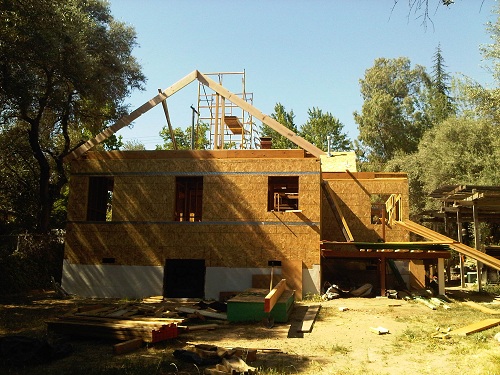
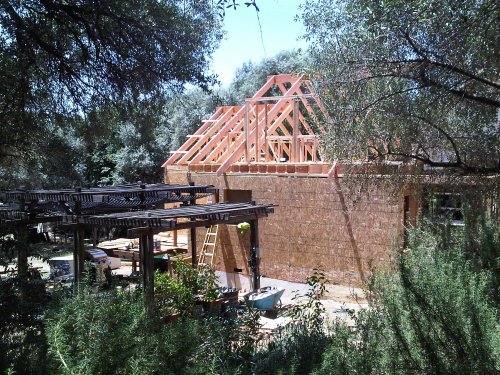
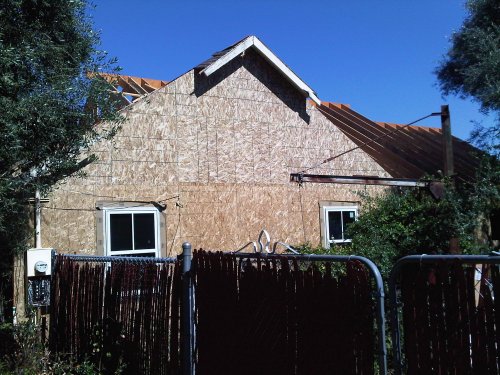
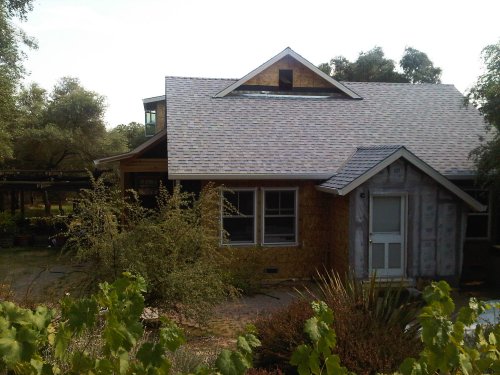
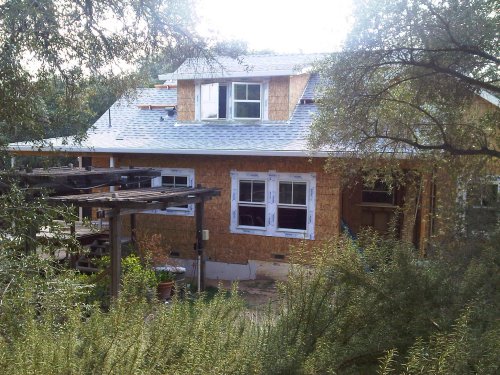
The west wall is now sheathed, but the gable vent hasn't been put in yet. From this angle it is clearer that the roof line drops away from front to back, matching the slope of the hill. Also, the little front gable is framed out so we get a sense of what the house will look like from the street.
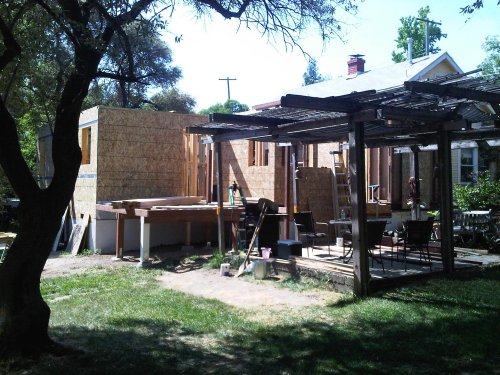
Here we are at the beginning of June now, the back porch is starting to be framed, and some attic walls have been sheathed. This is the last part of the framing, but one we are particularly looking forward to, since the proximity of kitchen, porch, and patio was a major focus for the design.
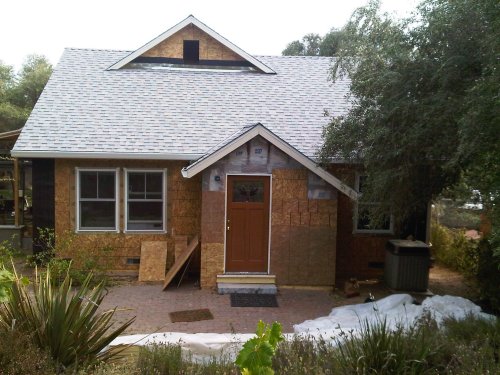
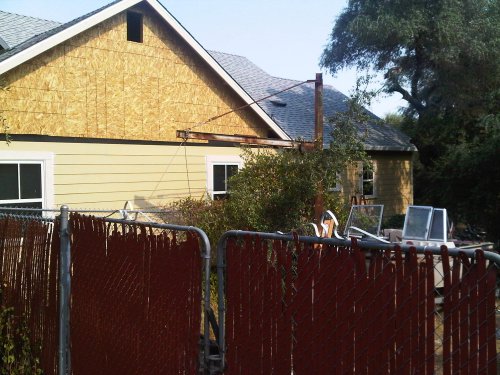
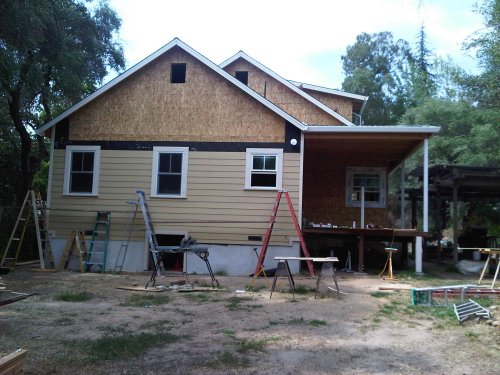
Well, it's been a busy month with a lot happening and not a lot of time to update this page. So in the interest of getting *something* up here, I'm just jumping forward a month. Early July, the house is roofed and the siding is going on. Curiously, the unpainted siding is close to the color we had in mind for a paint color. We also have a nice, new, sans-black-mold door. A lot of plumbing and electrical work has gone on as well, but that makes for less interesting pictures.
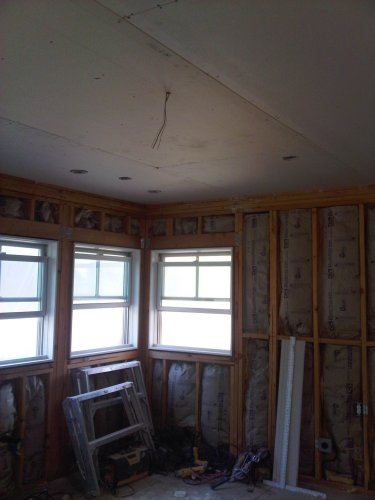
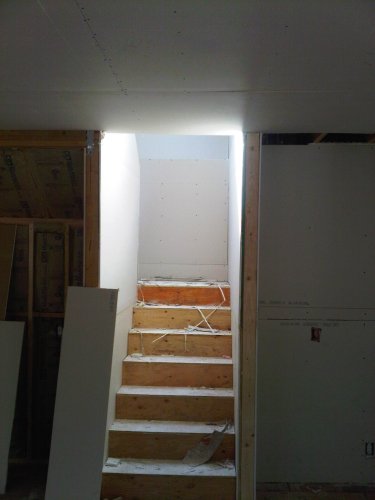
After a rough framing and electrical inspection the next step was insulation and drywall. Here you see part of the kitchen and the stair well.

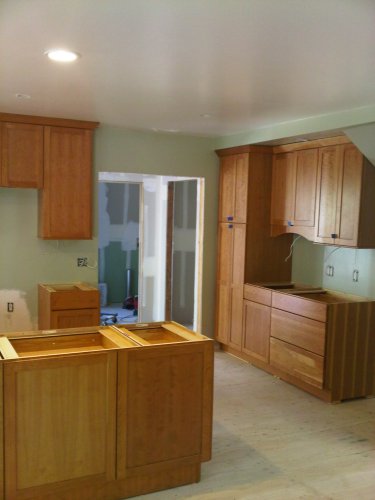
Paint and cabinets make for a very welcome sign of progress.

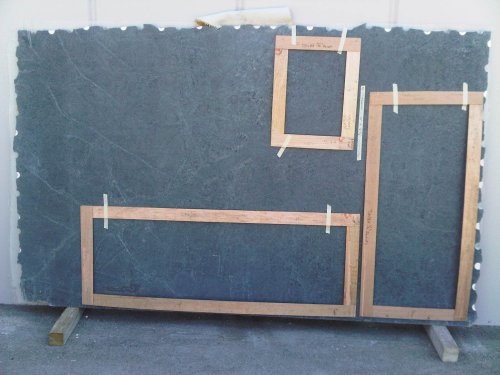
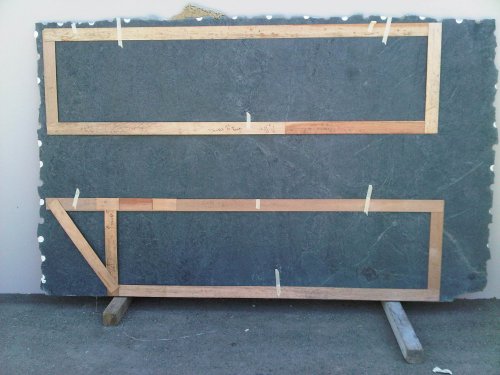
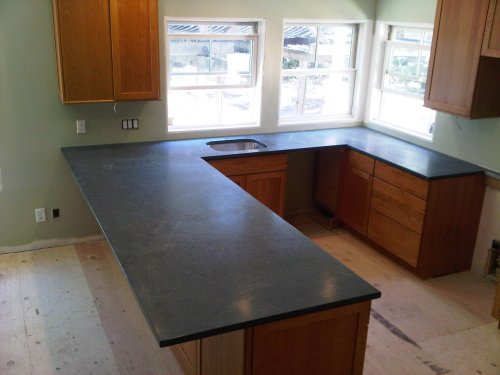
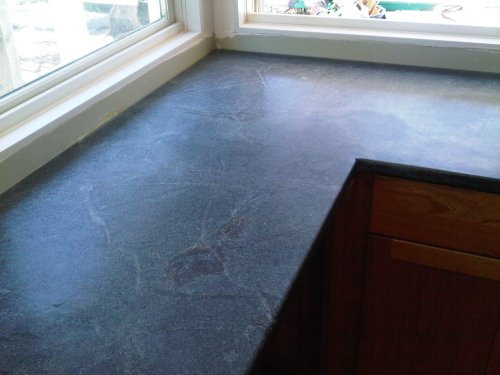
Once we had cabinets in we could move forward with the countertops. We had already decided on soapstone, and bought 2 full bookmatched slabs from the great folks at Teresina Soapstone. After they made the templates we got to help select the layout on the slabs, which you can see here. The top template in the right hand picture below is only the size of the peninsula cabinets but all the extra stone was used for overhang. The next two pictures show the stone installed.